A Complete Guide to Writing Perfect Midjourney Prompts – With Examples!
Learn how to write well-crafted Midjourney prompts to create unique and extraordinary images. Start with the basics of good prompt writing in Midjourney and discover how to use parameters to influence the result.
Writing a good prompt makes all the difference when generating the perfect image in Midjourney.
In this 4-part Midjourney Prompting Guide, I will show you how to use your creativity and write an excellent technical prompt to generate the images you have in mind!
Table of Contents Midjourney Prompts
- Part 1: How to write a good Midjourney Prompt + Examples
- Part 2: How to optimize your Midjourney images
- Part 3: Essential Midjourney Settings for better prompting
- Part 4: How to use Midjourney Parameters to optimize your prompts
Add me on Instagram @sprinkleofai for more daily tips, free Midjourney prompts, and artist shout-outs!
How does Midjourney work
Midjourney generates high-quality images based on a short text input called a Prompt. The Midjourney Bot will break down the words and phrases in your prompt into smaller pieces called tokens.
Besides Midjourney, you can use tools such as DALL-E and Stable Diffusion to create stunning visuals by text-to-image.
Learn how to get started with Midjourney
New to Midjourney? Check my handy free guides for beginners to set up Midjourney in just 10 minutes and learn how to write the perfect Midjourney prompt to get started right away!
Free Midjourney Prompt Sets
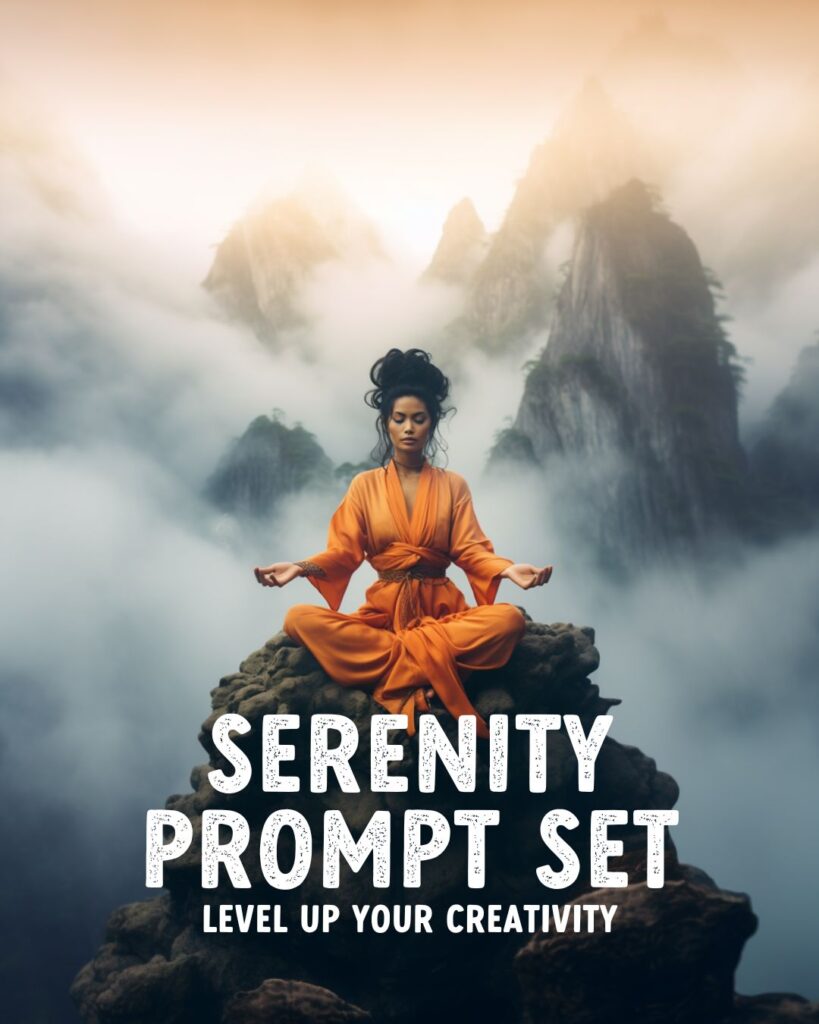
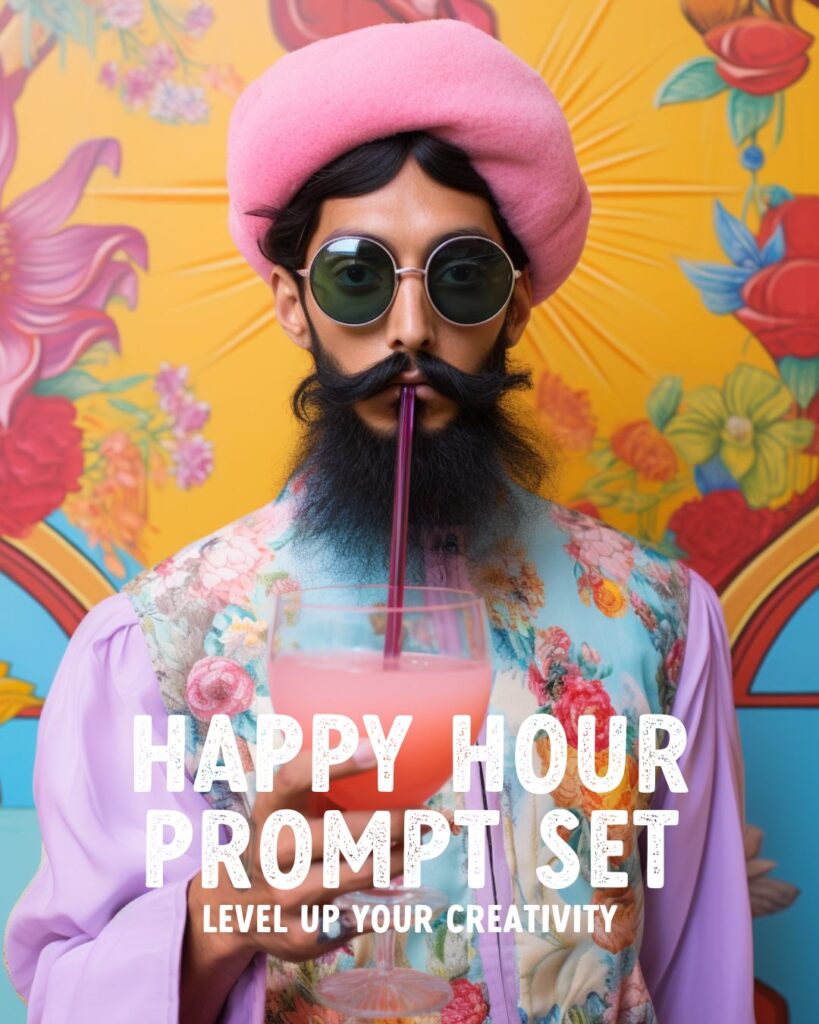
Discover my free Midjourney Prompt Sets and level up your creativity! I can’t wait to see what you’ll make with them. Check my Instagram for more examples!
TLDR – Most essential takeaways
– Write your prompts short and to the point, focus on the details
– Set the correct parameters to optimize your final images
– Use the /prefer setting to change your defaults like aspect ratio
– Turn on the /remix setting to alter prompts before running a variation
Advanced Midjourney Text Prompts
The Midjourney Bot can create images based on a single word, phrase, and even emojis.
However, to create more unique images, it’s necessary to give the Midjourney Bot a precise description of what you want to see.
Advanced prompts can include multiple text phrases, image URLs, and parameters. Here’s an example of an advanced text prompt with multiple text phrases and parameters:
A candid closeup of a giggling blonde French girl wearing a pink ruffled haute couture dress, enjoying the view, in Paris, 1970, autumn colors, misty morning --no umbrella --ar 4:3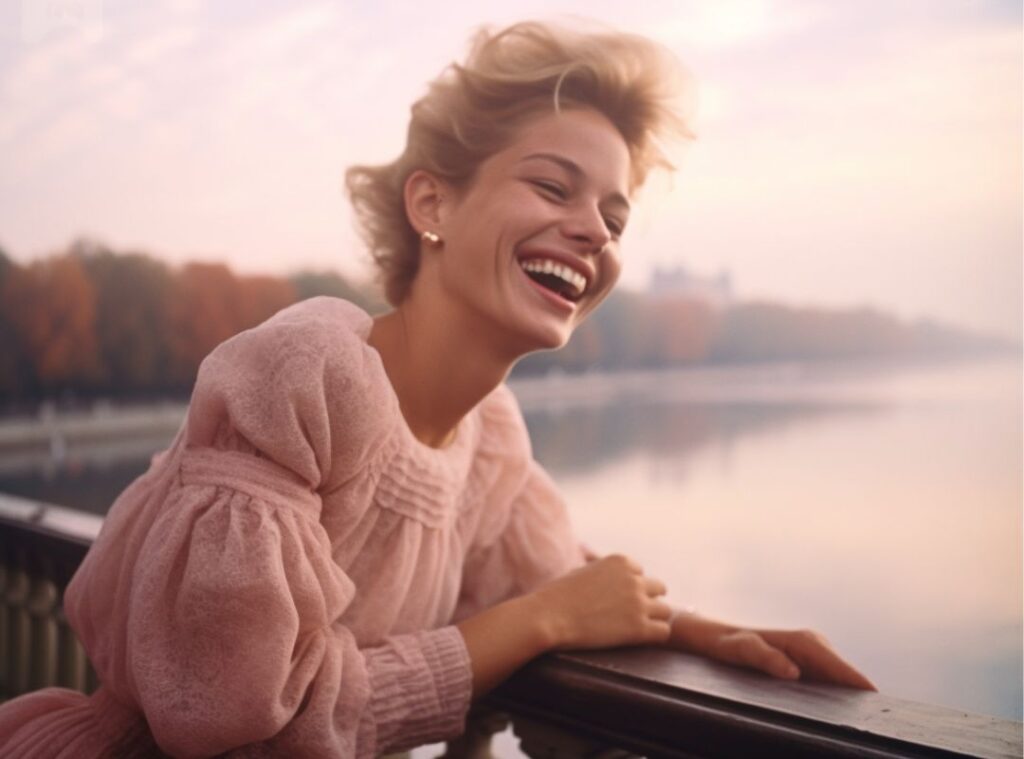
With just this short phrase and two parameters, you can:
- set the composition
- set the gender
- set the emotion
- set the nationality
- set the fashion look
- set the action
- set the scene
- set the location
- set the time period
- set the weather
- set the time of day
- set the color
- set the lighting
- set the aspect ratio
- exclude a subject
Midjourney Prompt Length
Midjourney has its own default art style. When you write a short prompt, Midjourney will rely more heavily on this, while a more descriptive prompt can be used to create your own unique look.
One of the biggest misconceptions about Midjourney is that using lengthy prompts means you will automatically see better and more detailed results. This isn’t the case.
Midjourney can only interpret a set amount of tokens. Therefore, it’s best to keep your prompts short and concentrate on the main concepts you want to see in your image.
How to analyze your Midjourney Prompts
You can test your prompts by using the Shorten command. Simply type /shorten in your Discord text bar, followed by your prompt.
Midjourney will analyze the contents and show you how to use alternative wording to make your prompt more effective.
Details Matter
When writing your Midjourney prompts, it’s essential to be clear about the context and details that matter to you and want to see reflected in the images Midjourney generates. The Midjourney Bot will randomize anything you leave out.
Using fewer words in your prompt means each word has a more powerful influence on the result. Remove words when possible, and use commas, brackets, and hyphens to organize your prompts.
How to Separate Midjourney Prompt Concepts
Midjourney can consider two or more separate concepts individually when using a double colon (::) as a separator.
This is helpful when you want to focus on both your subject and the background or setting of an image. Here is an example of how to use a double colon in Midjourney prompts:
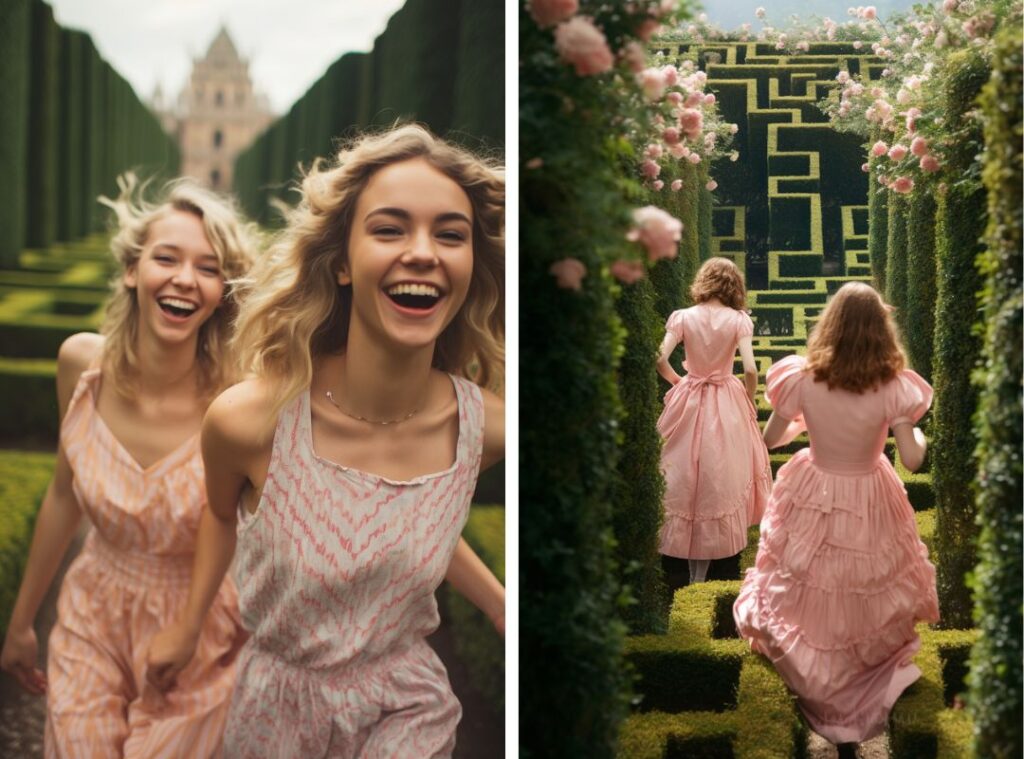
I didn’t use a double colon in the first photo, so Midjourney automatically focused more on the first words in the prompt: two teenage girls.
a candid closeup photo of 2 different giggling teenage girls walking in a maze, royal palace garden, summertime, cloudy day, pastel colorsIn the second photo, I used a double colon between the girls and the location so Midjourney focuses on both subjects more equally, creating a very different result.
a candid closeup photo of 2 different giggling girls walking in a maze :: a royal palace garden with pink flowers, summertime, cloudy day, pastel colorsHow to Multi-Prompt in Midjourney
Separating concepts within a prompt allows you to assign more importance to certain parts. This is handy when you want to focus on a subject and also create a detailed background.
In the following example, I’ve added more focus to the first part of the prompt by adding a prompt weighting of 2. This makes the first part of my prompt twice as important as the second part, focusing more on the girl than the tulip field.
a closeup photo of a gorgous dutch in a floral dress girl holding a tulip ::2 a colorful blooming dutch tulip field, sunny spring morning, pastel colors ::1When deciding on a number, all that matters is the relationship they have to each other. A prompt weight of ::10 and ::5 is the same as using ::2 and ::1 ,or ::100 and ::50.
What to include in your Midjourney Prompts for the best result
How do you write a good prompt in Midjourney? Here are ten things to consider adding to your Midjourney prompts to get the best results:
#1 Subject
Start with describing the main subject of your image. For example, a person, animal, location, or object.
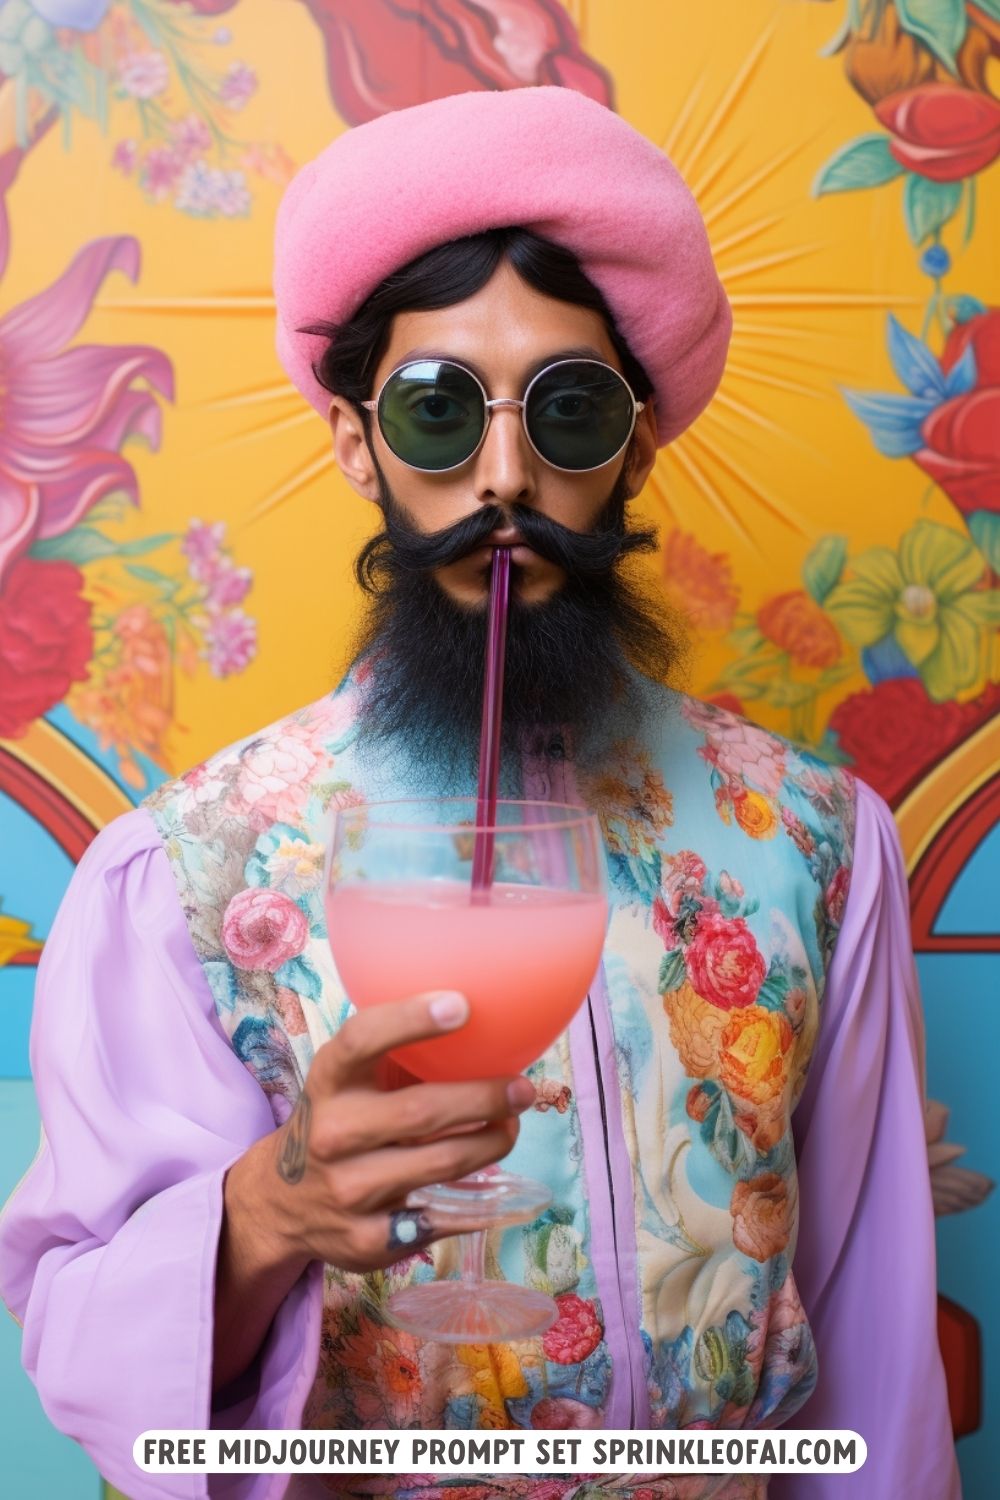
candid closeup photo of an eccentric Japanese flower guy, holding a gigantic colorful cocktail glass, haute couture, symmetry, colorful Indian mural, summer, soft pastel colors --ar 2:3 --v 5.2When making Midjourney portraits, focus on refining their look by choosing their gender, hair color, nationality, etc.
You can also add words like artistic, eccentric, fantasy, magical, kawaii, and preppy to your prompts to influence the overall style of your subject.
If you want to see multiple subjects in one image, use specific numbers or descriptions. For example, 3 cats, a herd of cows, a flock of birds, etc.
#2 Art Style / Medium
Choose the style of your image. For example, a closeup photo, pencil drawing, oil painting, sketch, or watercolor illustration.
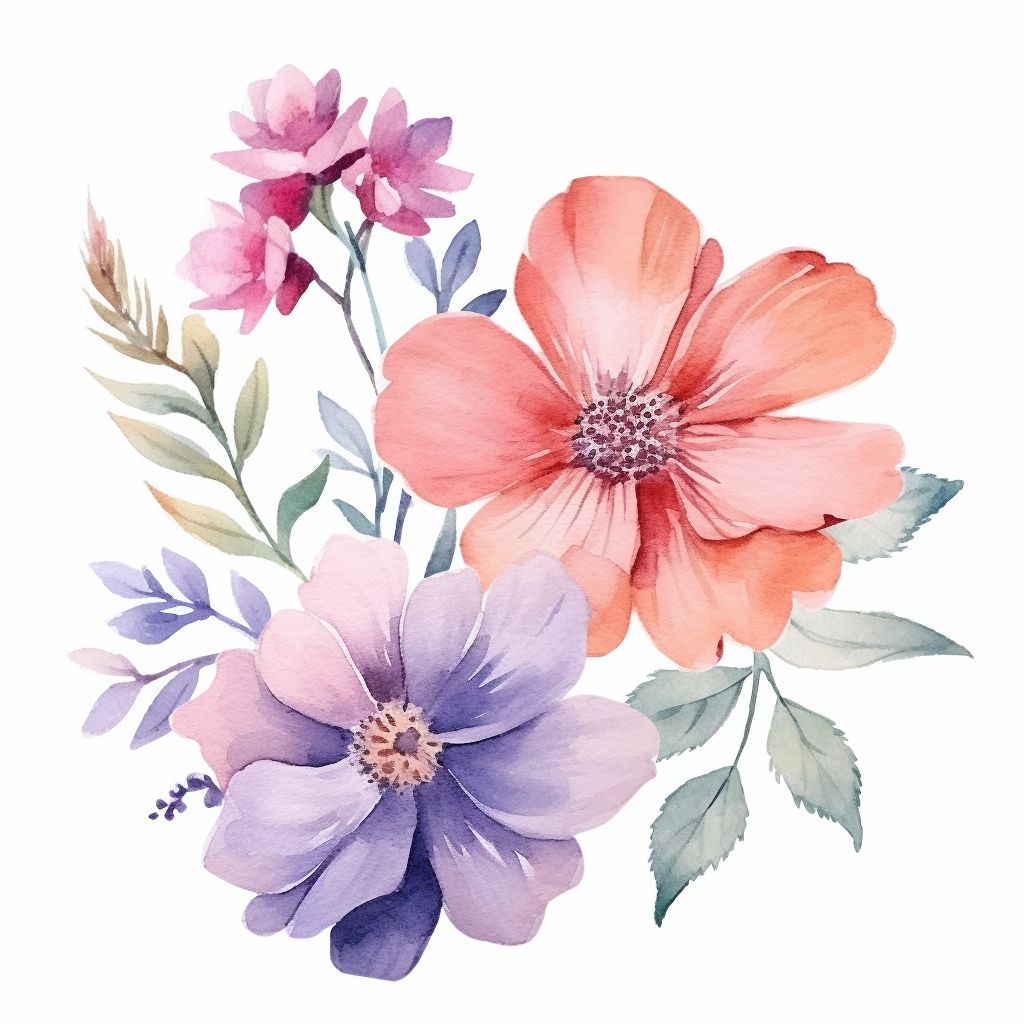
watercolor clipart, white background --ar 16:9
#3 Environment/Setting
Choose where your image is set. For example, indoors, in the jungle, on Mars, underwater landscape, in Paris, 1960, or the future.
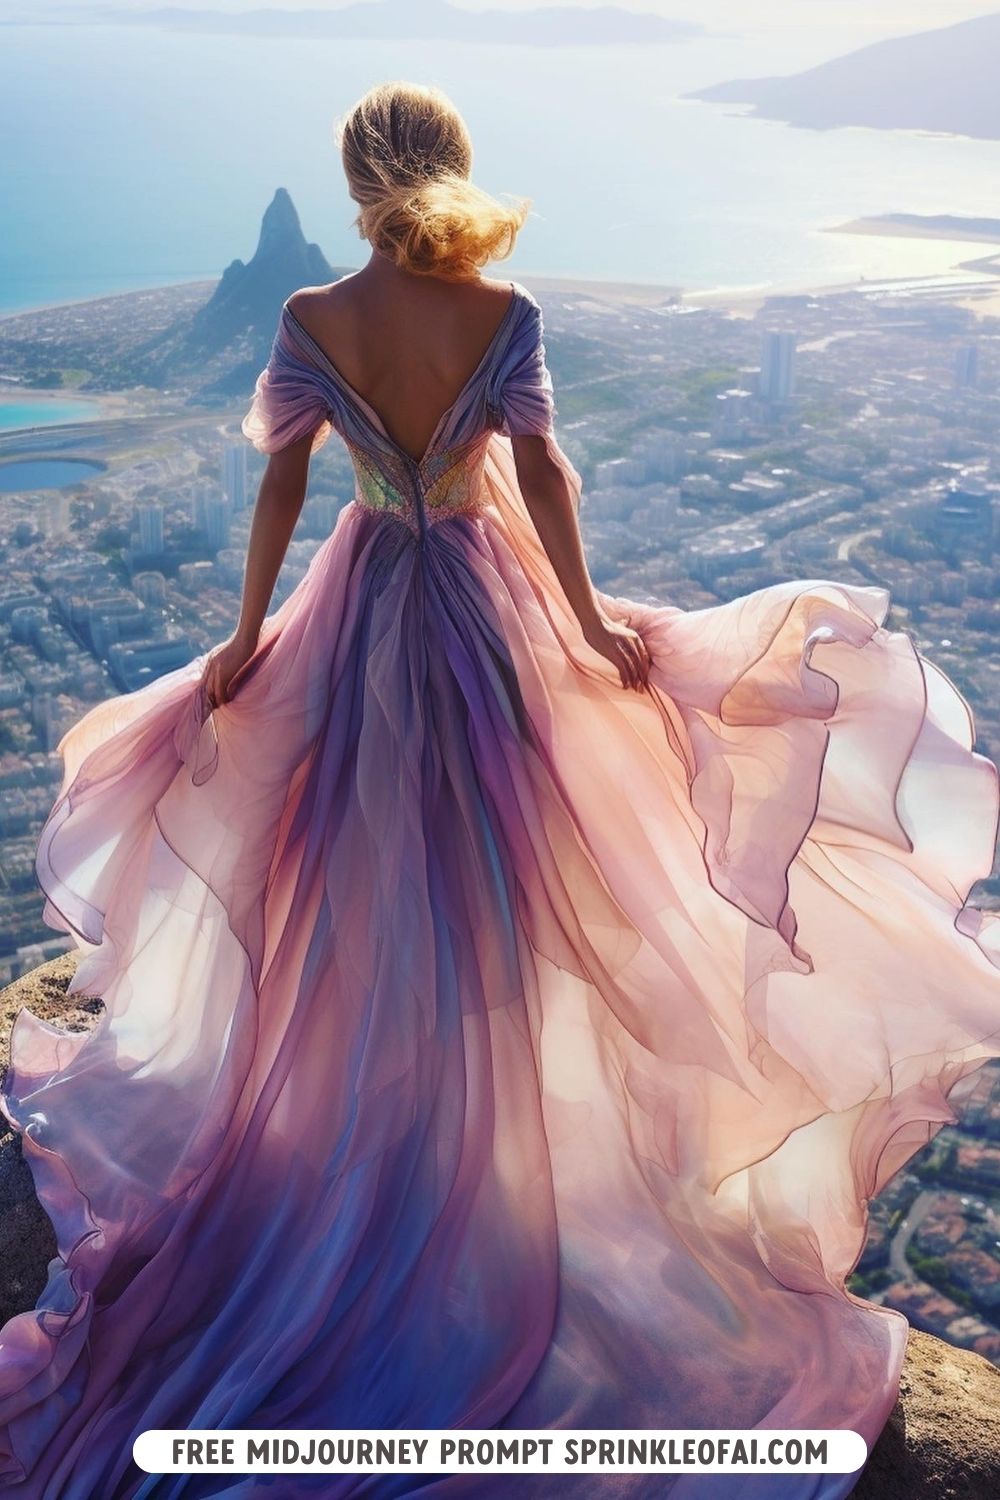
A high angle photo of a futuristic queen standing on top of a high mountain, views of the entire island, ocean in the distance, futuristic city highrise in the distance, really long dress blowing in the wind, pastel colors, summer --ar 2:3Try using specific synonyms and exaggerating what you want to see to ensure Midjourney understands your direction. For example, instead of big, try gigantic or immense.
You can also set the weather or season by adding words like Summer and Winter to your prompt. Additionally, you can make it rain or snow, create fog, or opt for a sunny day.
#4 Composition/Camera Angle
Choose the angle at which the image is shot. For example, aerial view, low angle, closeup, bird’s eye view, flat lay, selfie, etc.
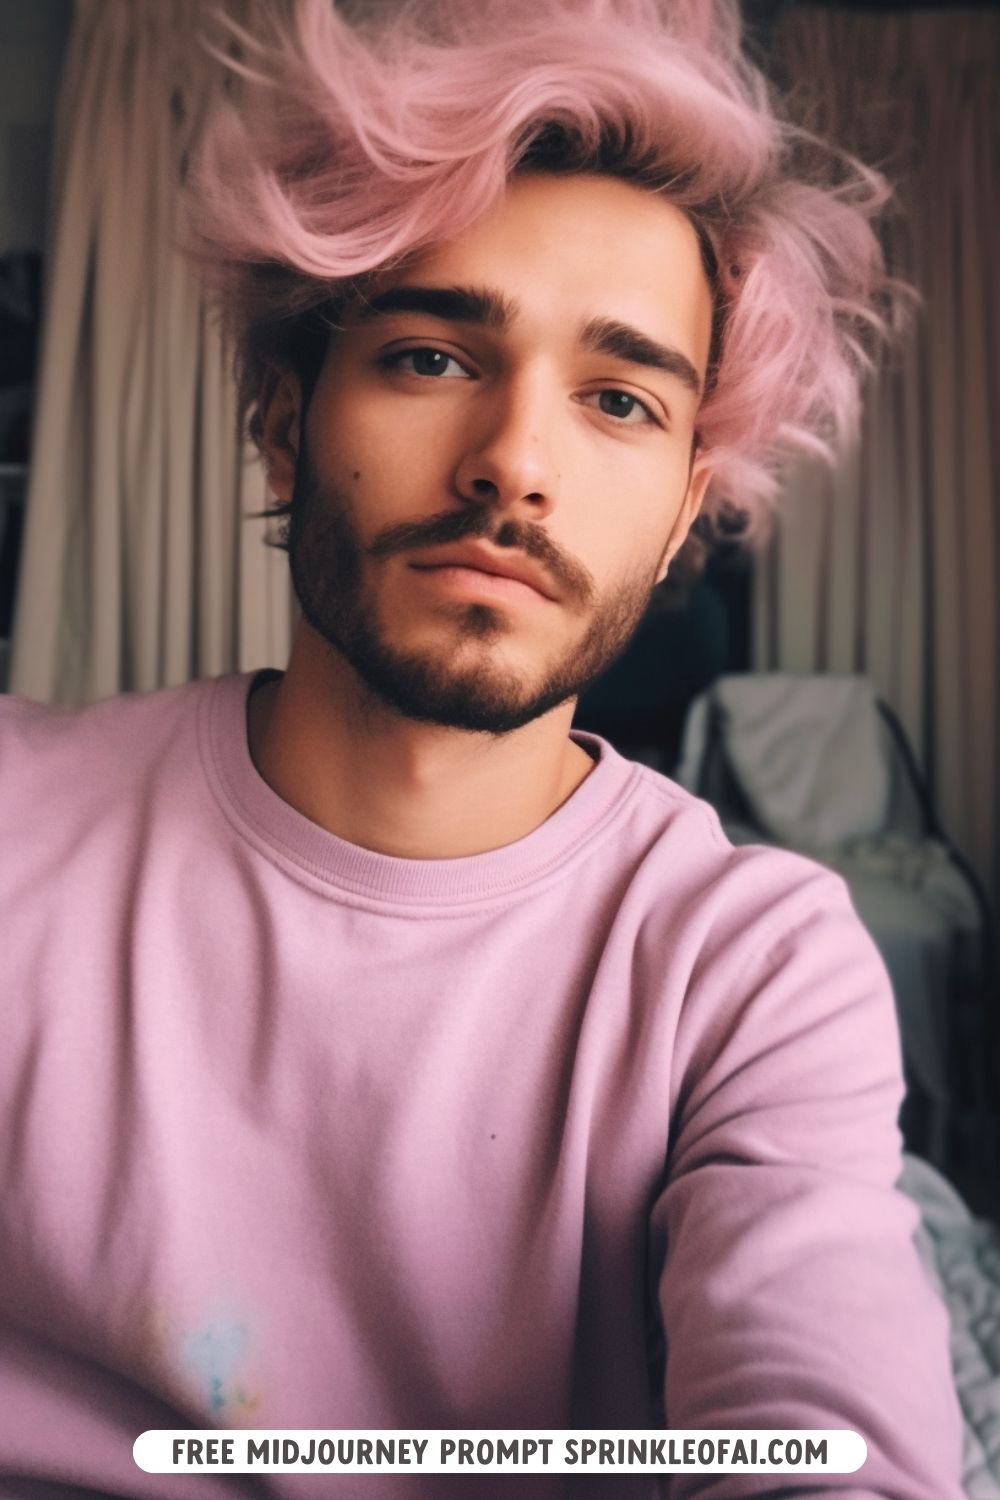
Selfie photo of an Instagram influencer guy with messy hair, soft pastel colors, in the bedroom --ar 2:3Use words like candid, formal portrait, group photo, wedding photography, etc., to influence the subjects’ poses.
#5 Camera Lens/Type
Midjourney does not recognize camera brands or specific camera lenses. Still, you can give it a direction by using words like DSLR, vintage, analog, GoPro, Kodak, fisheye lens, etc., to change the overall look of your final image.
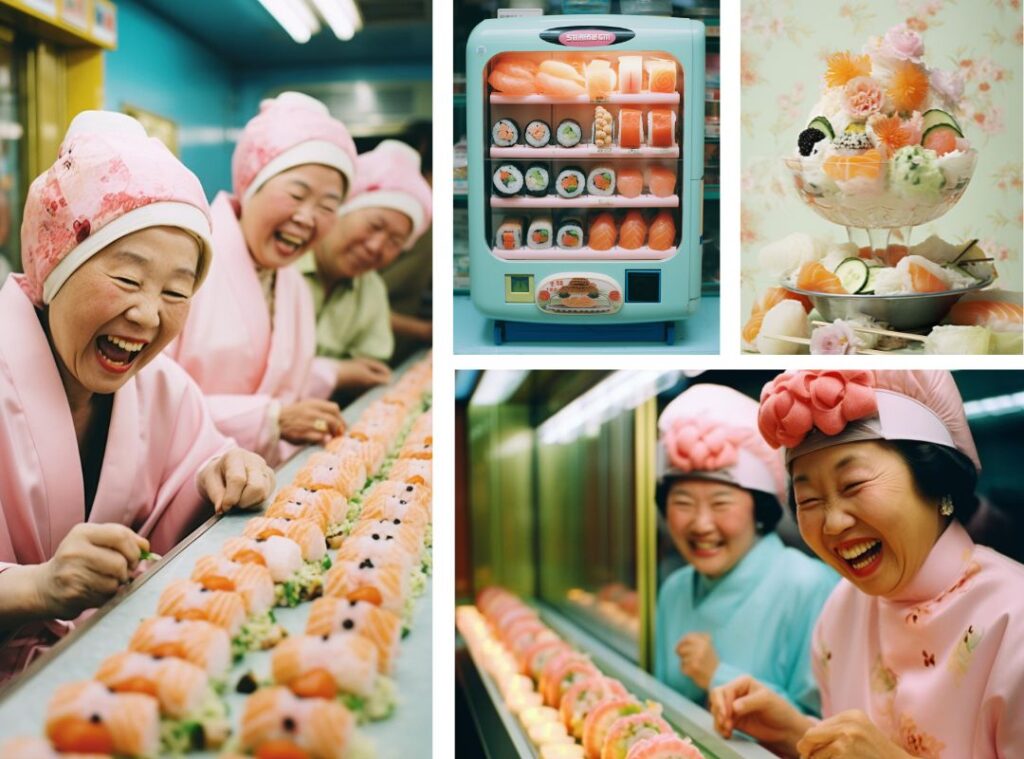
A candid closeup photo of giggling elderly Japanese kawaii queens taking food from a sushi train :: A pastel retro sushi restaurant, sushi conveyor belt, futuristic haute couture, giggling, symmetry, lotus flowers, pastel colors, vintage 35 mm fuji color film --ar 2:3
#6 Lighting
Set the lighting and tone of your images. For example, cinematic lighting, soft light, ambient light, daylight, vibrant light, neon light, etc.
Add shadow to your images for a more realistic effect. For example, playful shadows of a tree, soft shadows, striped shadows on face, etc.
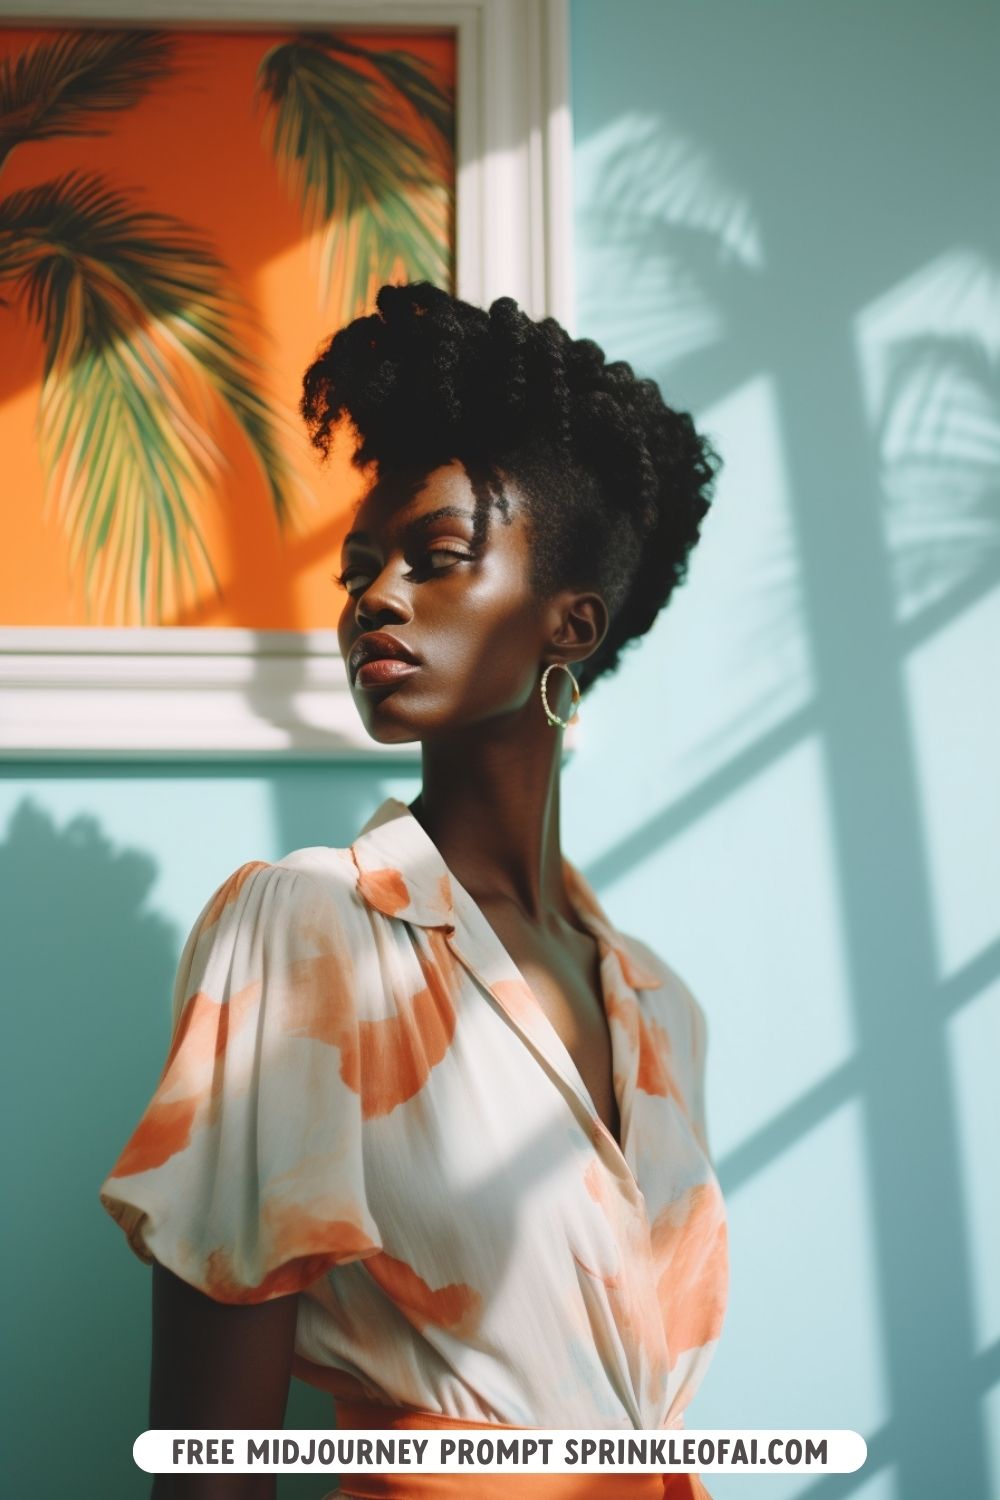
A candid photo of an eccentric artistic jamaican female in haute couture, posing in a white modern art gallery, playful shadows, in front of a wall with framed palmtree paintings hanging on a wall, orange and blue pastel colors, 35mm Kodak photography --ar 2:3#7 Colors
Set the color of your subject or overall image. For example, vibrant, monochromatic, warm, autumn, pastel, red and white, bright, or pastel colors.
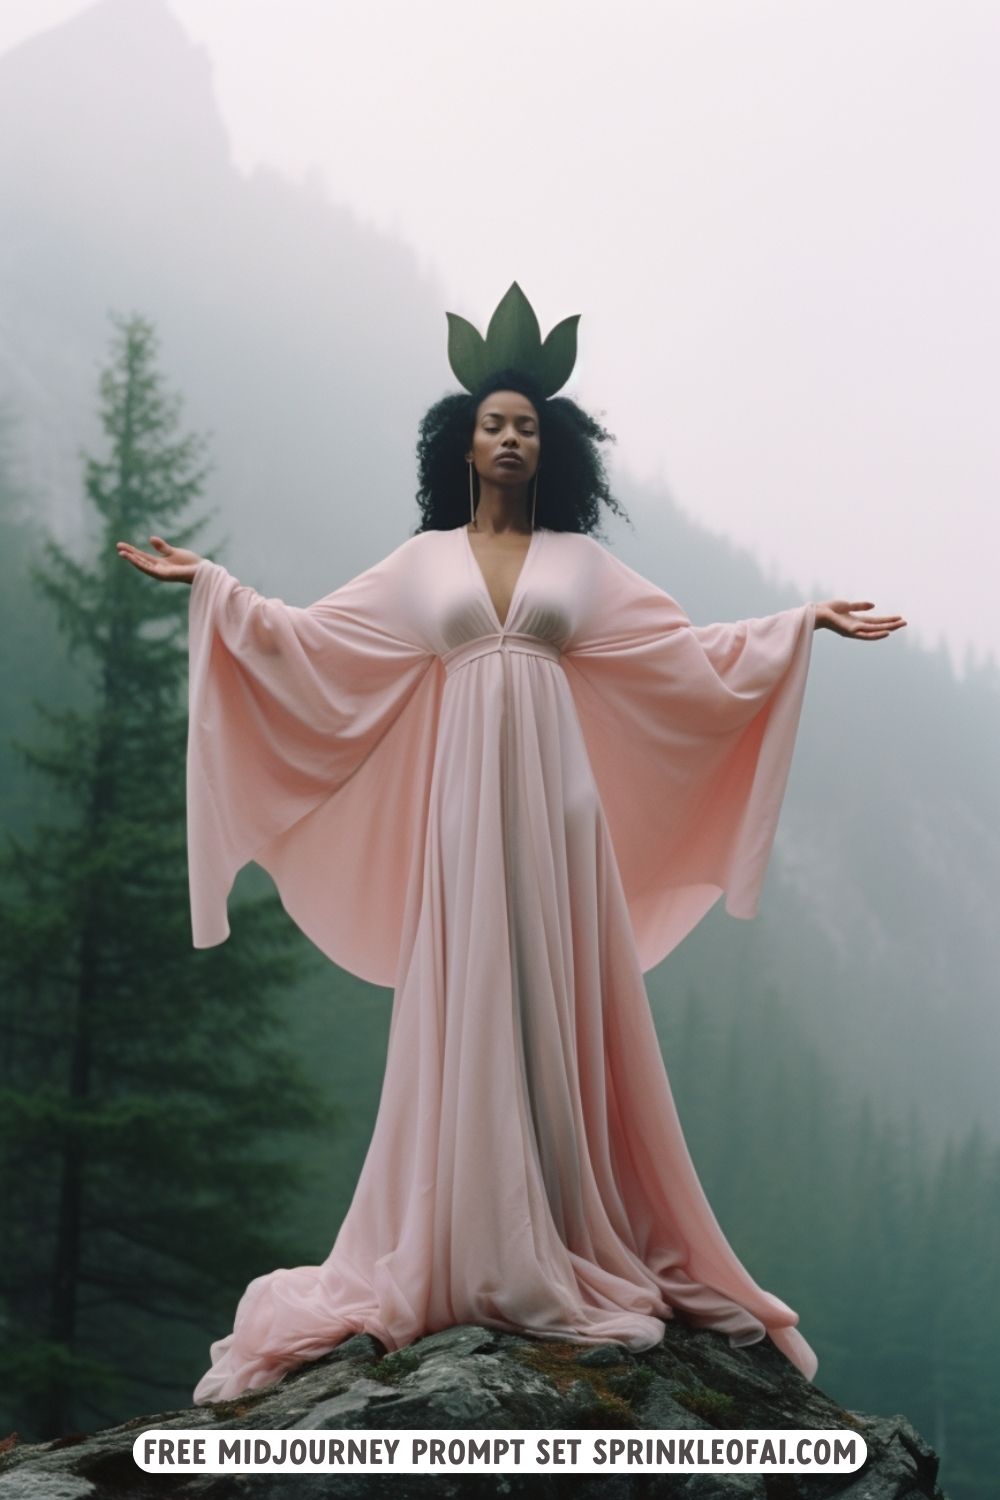
Candid closeup photo of a smiling minimalistic Siberian queen with hands up in the air :: standing on top of a rock, on a high mountain, lotus crown, futuristic very long satin kimono, symmetry, china, bonsai trees, foggy, pink and green pastel colors, vintage 35 mm fuji color film --ar 2:3When creating multiple images for one matching set, I recommend choosing 2 to 3 colors to match the overall aesthetics.
I love working with brown and black pastel colors for a soft, natural look, or choose green and pink pastel colors for a more vintage feel.
#8 Facial expressions/emotions
Set your subject’s facial expressions and overall tone of the image by adding different emotions. For example, giggling, smiling, energetic, in love, angry, etc.
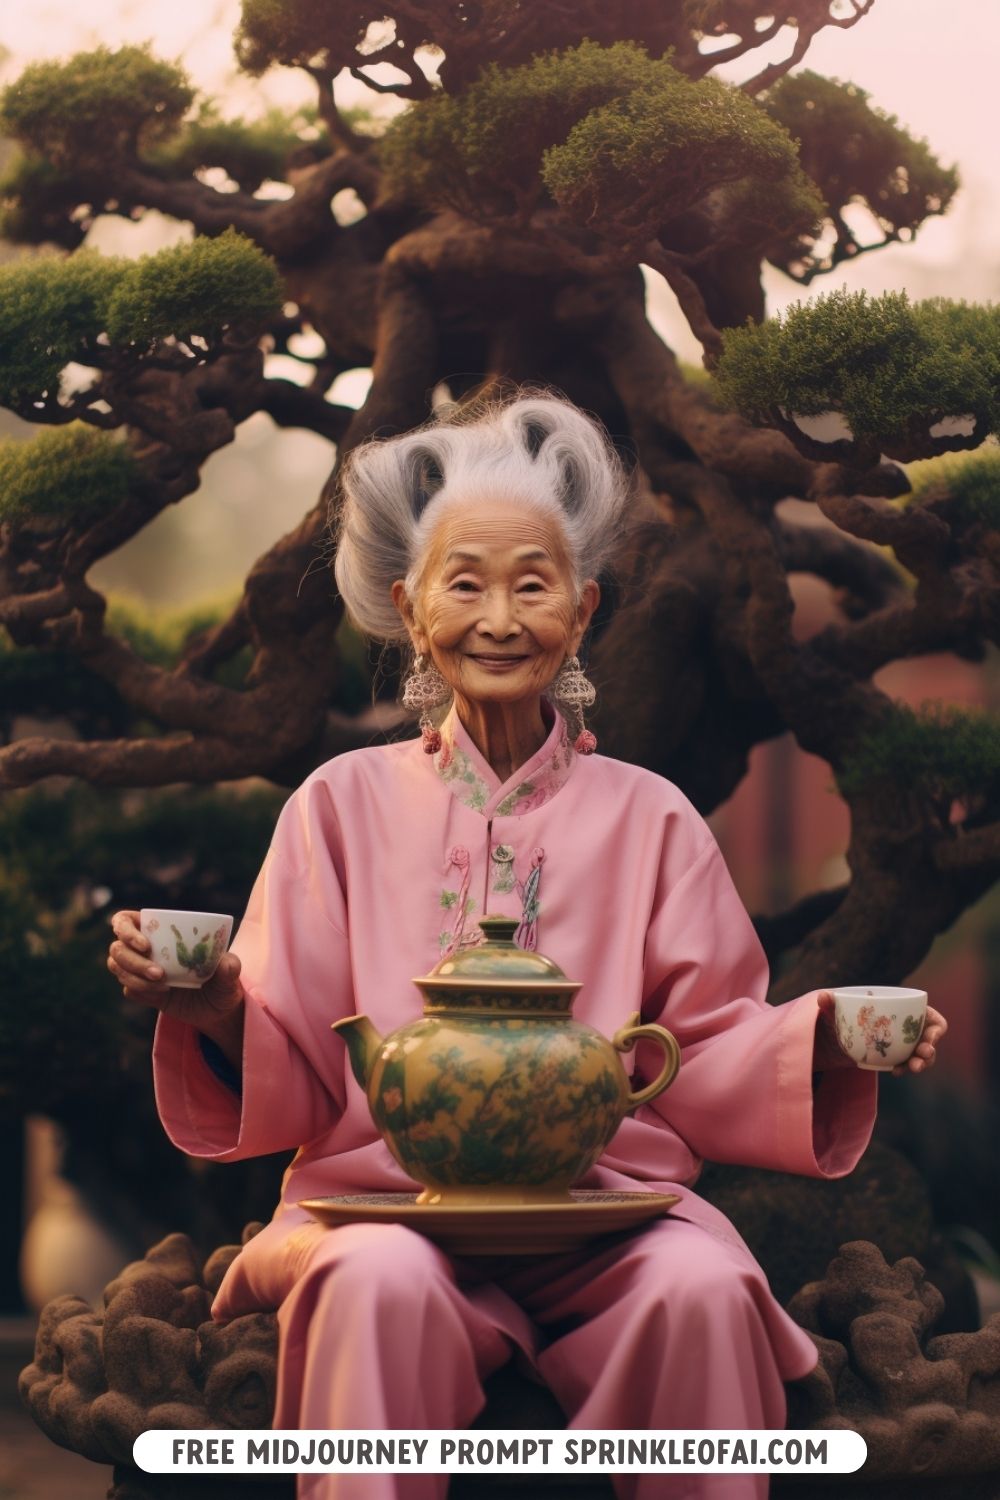
Candid sharp extreme closeup photo of a giggling old eccentric Asian bonsai queen sitting on a bonsai throne, in a lush royal palace garden, symmetry, pastel colors --ar 2:3#9 Fashion
Add some flair to your Midjourney models and create a fashion look that fits the scene. For example, sporty, haute couture, traditional folklore, the 80s, strawberry print, ruffled dresses, etc.
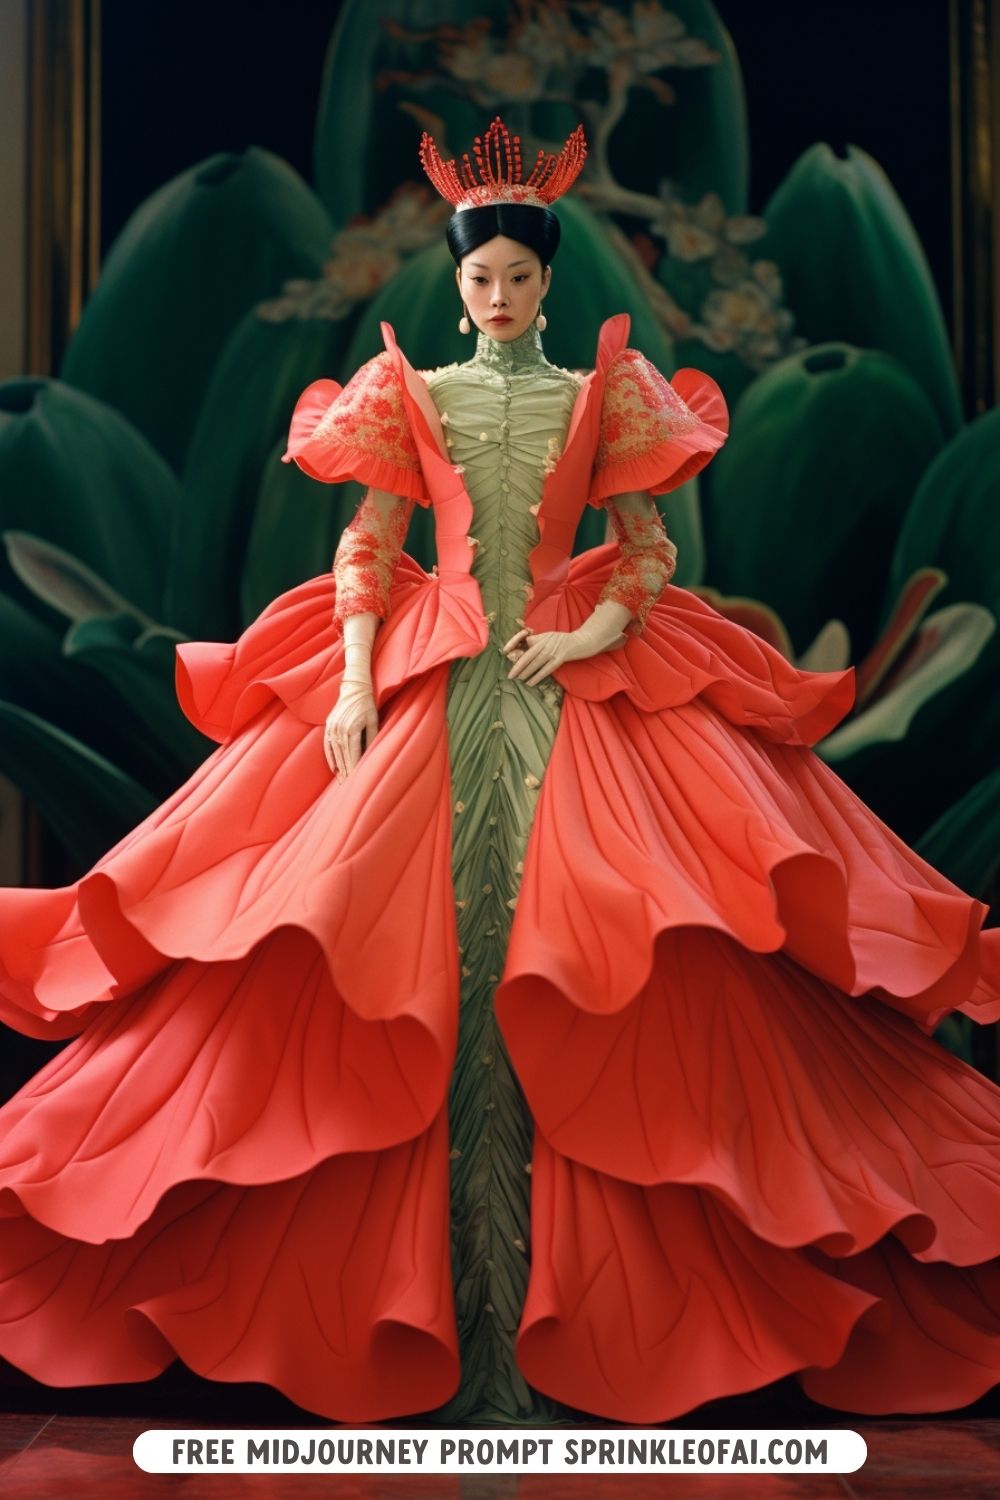
Photo of a japanese queen wearing a red lotus shaped haute couture crinoline gown, farthingale, lotus petal dress, ruffles, in a golden palace, symmetry, futuristic, pastel green and red colors, vintage 35 mm fuji color film --ar 2:3#10 References
Set the mood and tone of your images by adding references to movies, artists, magazines, photographers, etc. For example, Wes Anderson, Tim Burton, Andy Warhol, Peter Lindbergh, Vogue, National Geographic, etc.
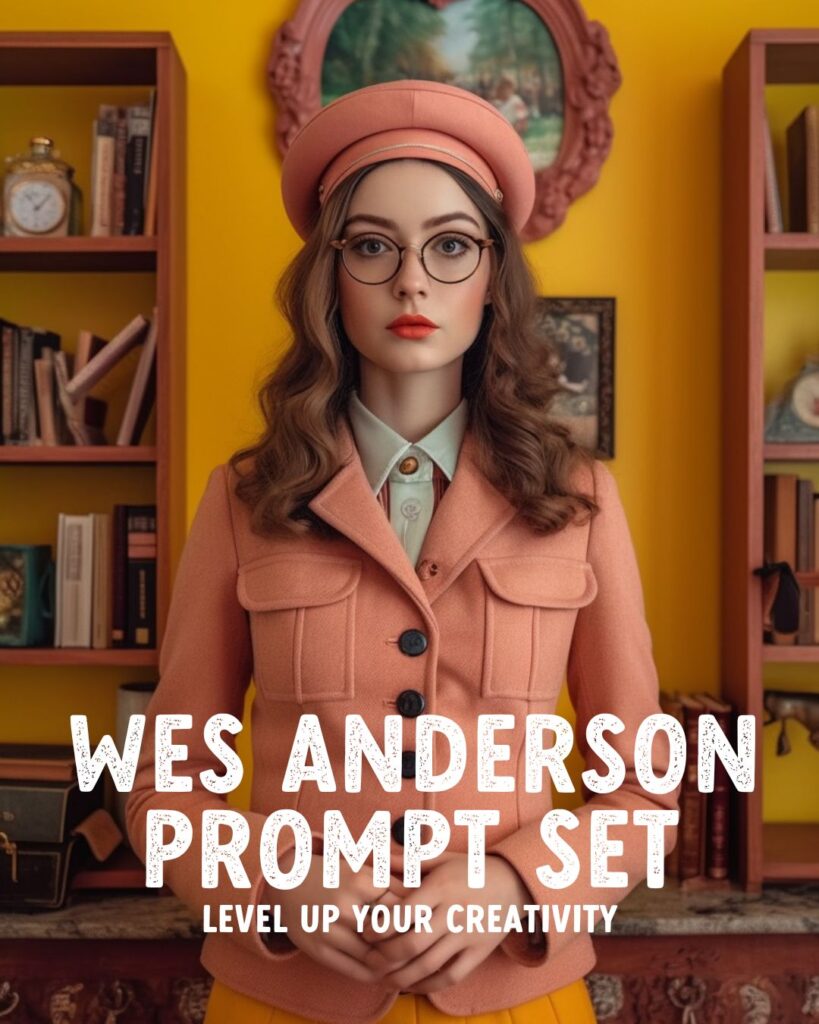
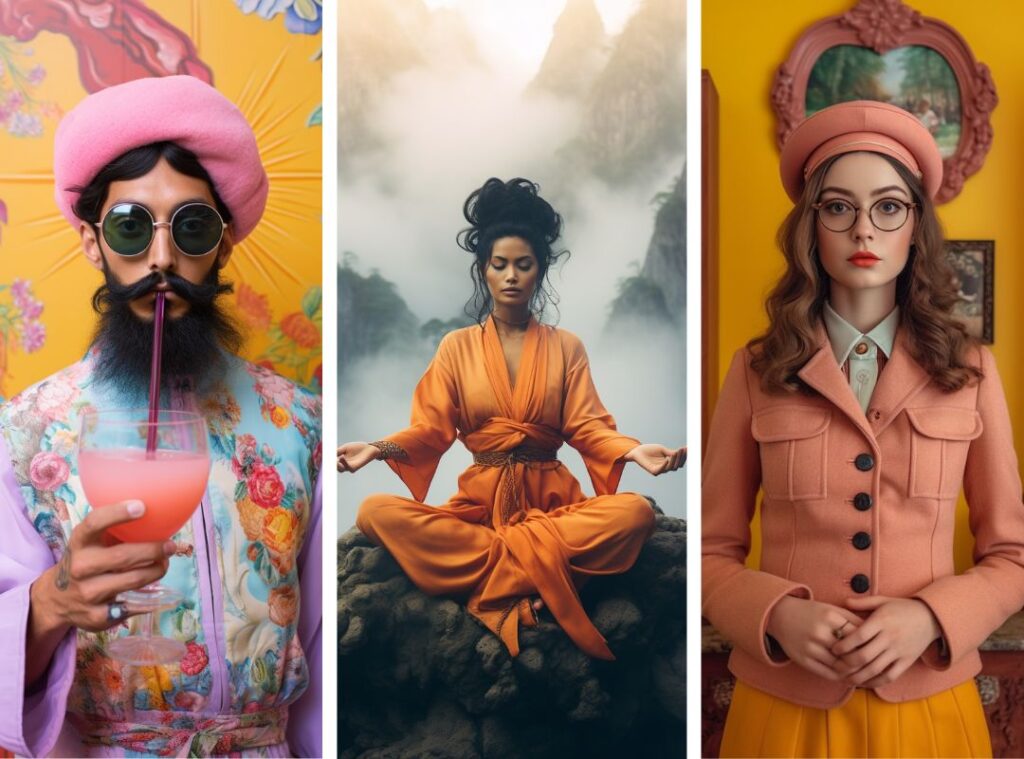
vogue photoshoot of a pretty girl in a Wes Anderson outfit in a Wes Anderson movie, Wes Anderson style --ar 2:3 --v 5.1
PRO TIP: Turn on Remix Mode in /settings so you always get a pop-up box to quickly alter the Variation or Pan of your images and add or remove specific keywords from your prompt.
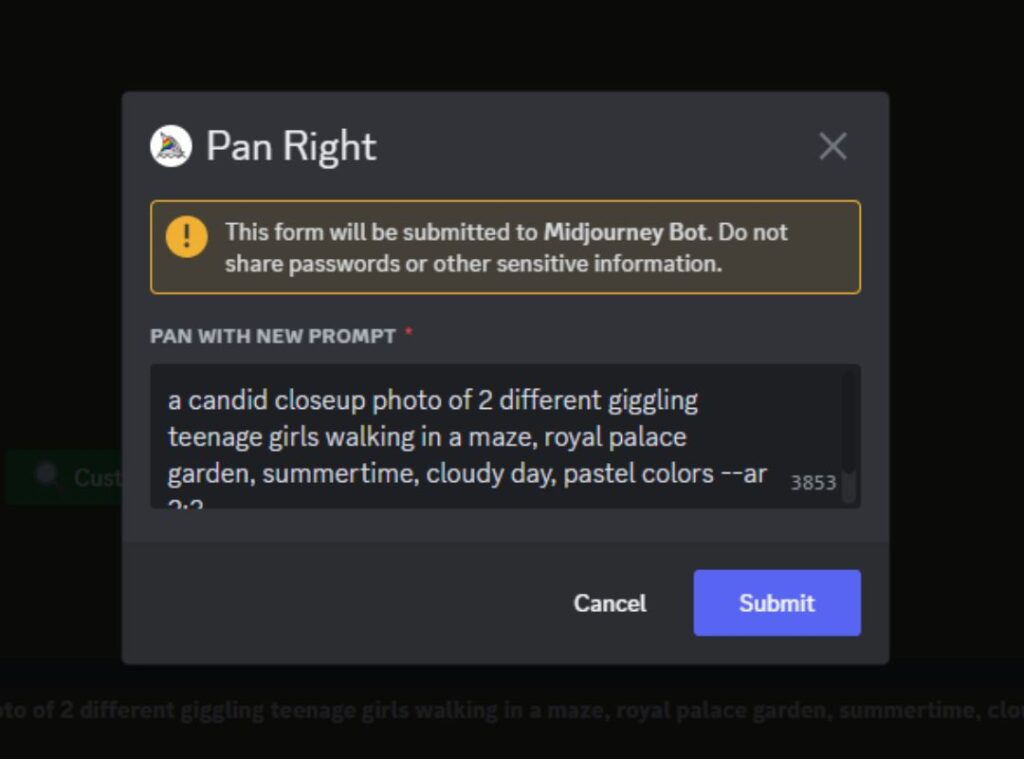
Image prompts – Use a photo as a prompt
Midjourney can also generate new images based on reference images. Upload the image to Discord, grab the image file link (ending on .jpg or .png), and paste it at the front of your prompt.
You can add instructions and parameters after the URL or leave it empty.
thisisalinktoanimage.png an oil painting of a sleeping white cat on an old vintage chair, in the style of painter Van Gogh, yellow and green colors --ar 2:3For more tips on using Image prompts, check my How to use your image as a reference in Midjourney Guide or learn more with my super fun Margot Robbie Barbie Midjourney Prompt Set.
How to optimize your Midjourney experiments
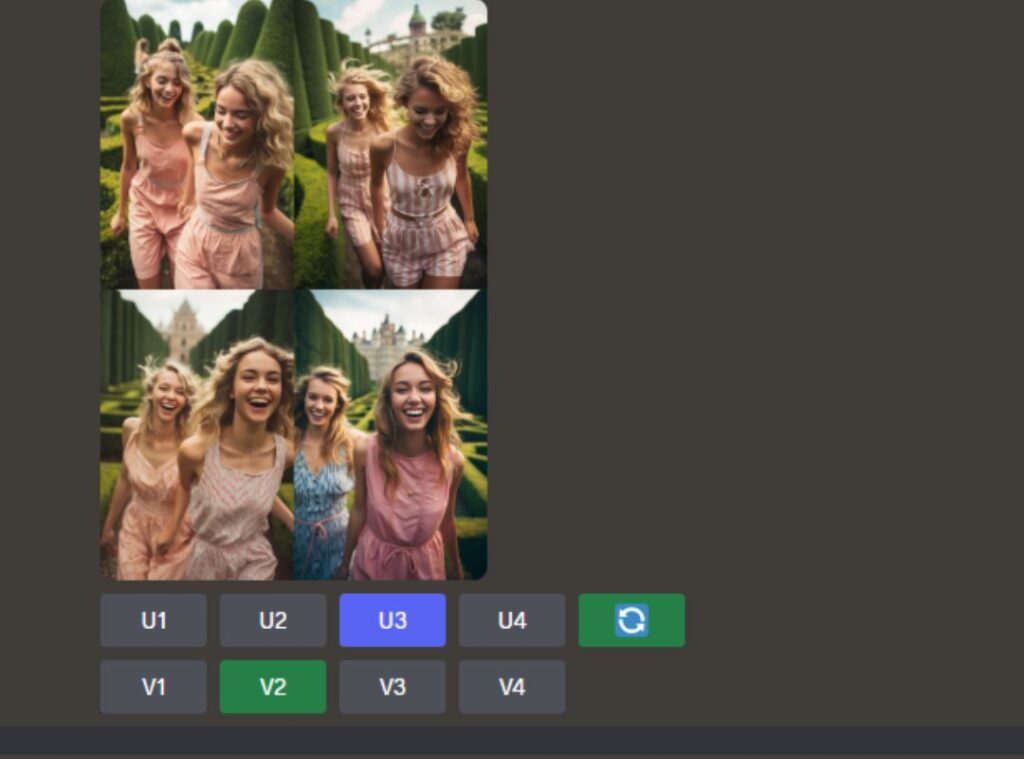
Midjourney generates four images for each prompt. Once generated, you can run a Variation (Strong) for each image or do a general Variation for four new results. You can Upscale the images that you like.
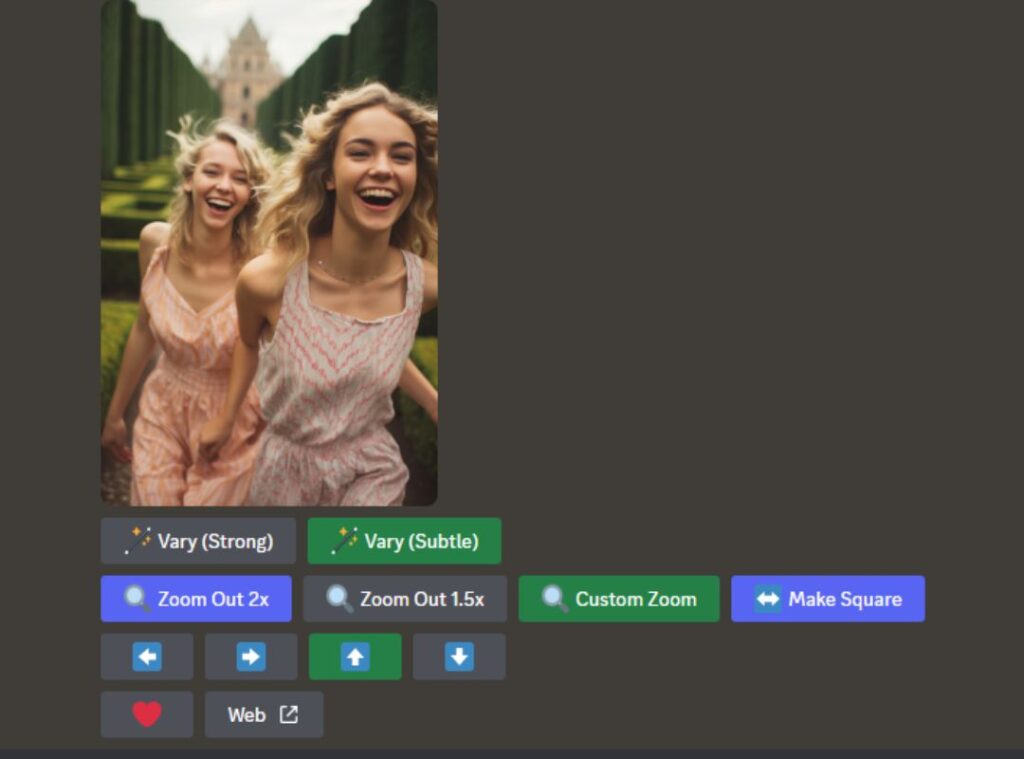
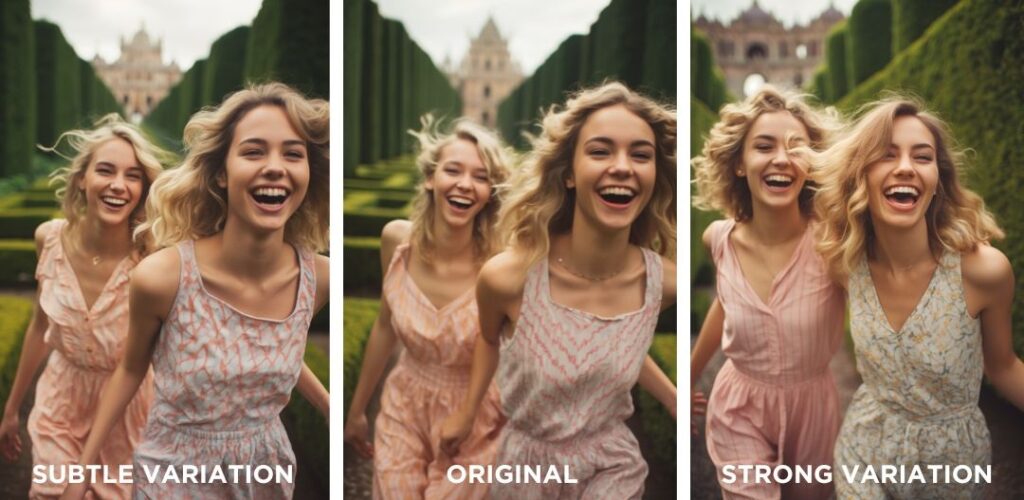
If you love an image but need to fix some minor mistakes, Upscale the image and choose Vary (Subtle) to make small changes to the original.
The Vary Strong or generic Variation option will change the subjects and setting and slightly alter the composition. The overall look and feel of the image will remain the same.
Pan Option
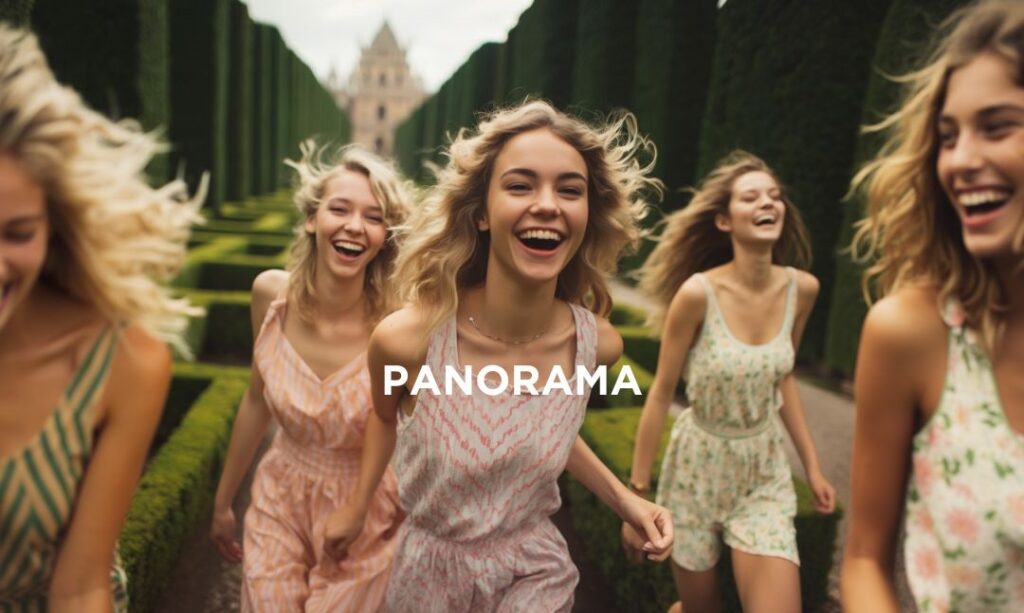
You can pan your image to the left and right to add new subjects by repeating or altering the original prompt. Turn on Remix Mode in /settings to alter the prompt before panning.
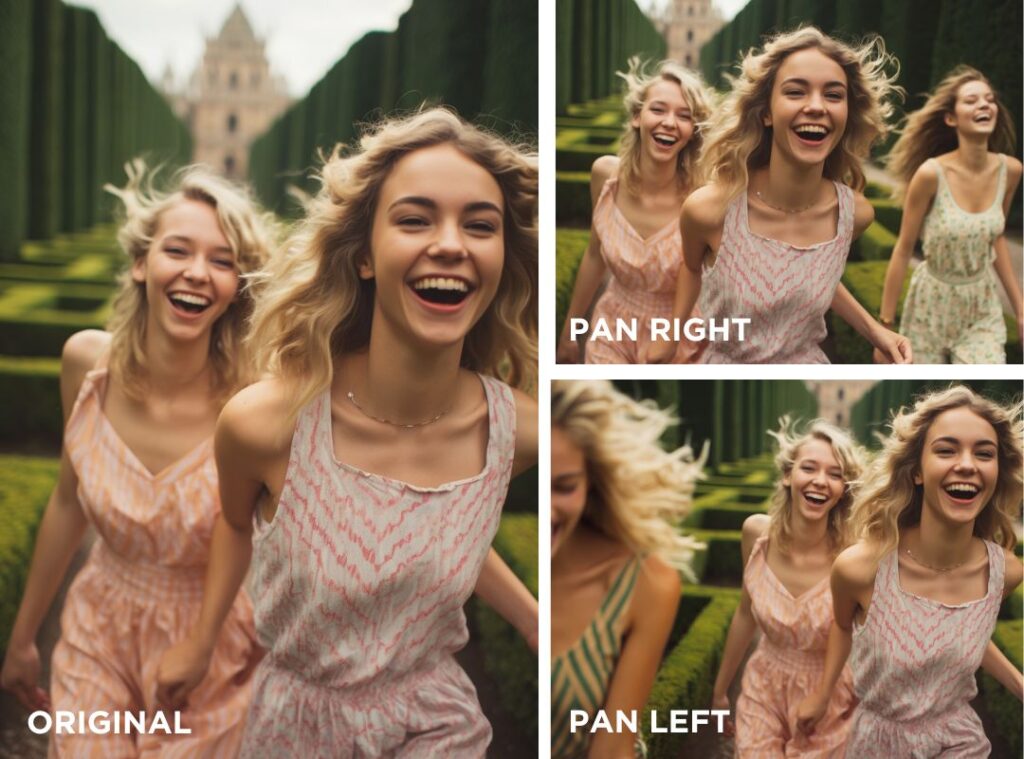
You can pan each newly generated image in a new direction unlimited times, allowing you to create fun panoramic photos.
Square Option
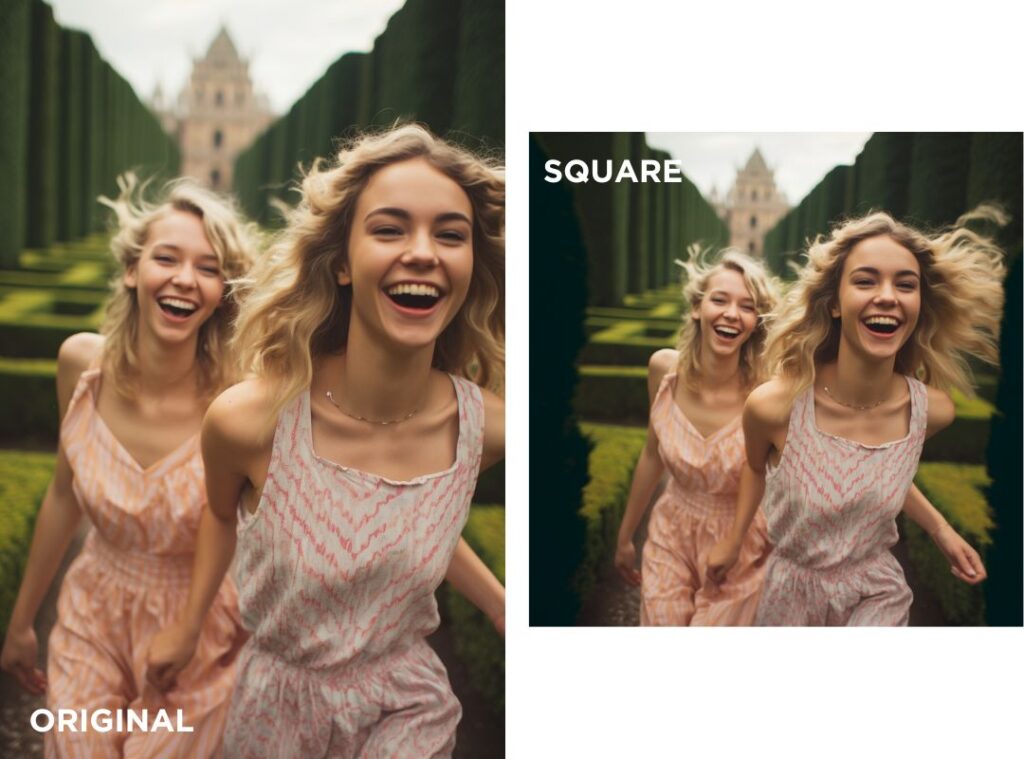
The Square option lets you turn any image that isn’t a 1:1 aspect ratio into a Square without cropping.
Zoom Out Option
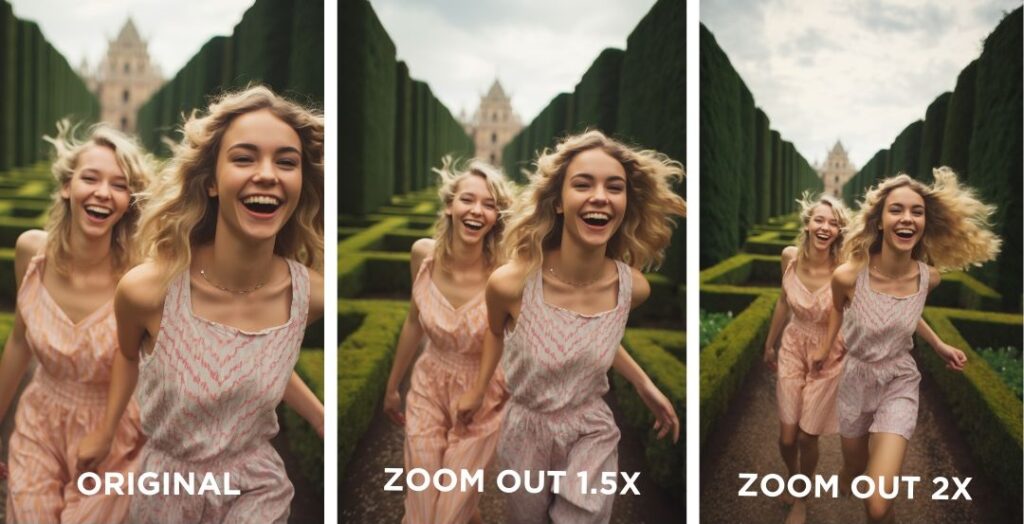
You can zoom out with the Zoom buttons. Use the Custom Zoom button to add new objects to your image after each zoom.
Guide: How to use the Zoom Out option in Midjourney
Essential Midjourney Settings
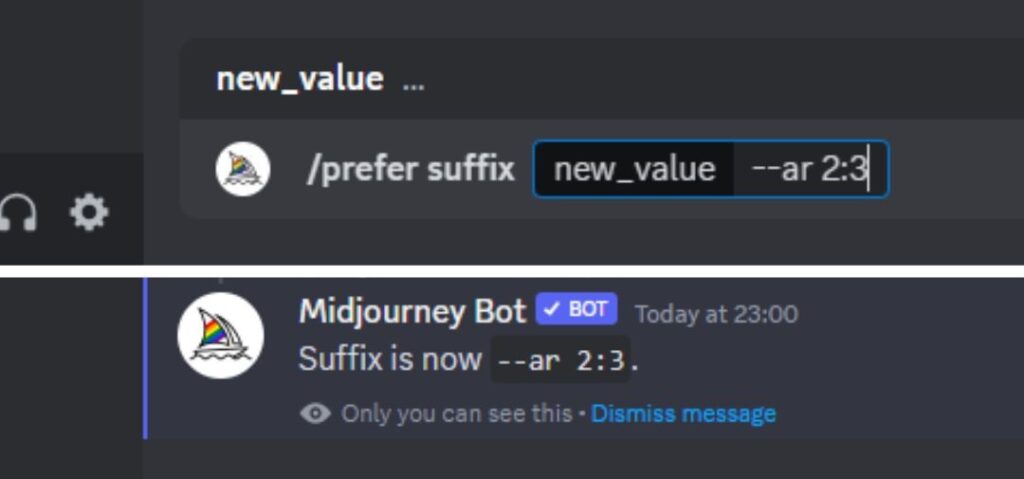
Choose new automatic defaults for your prompts by typing /prefer in your text bar.
/prefer suffix allows you to add parameters to each prompt automatically. This is helpful if you consistently create images in a specific aspect ratio. Simply add the parameter like –ar 3:4 or –ar 9:16.
Basic Midjourney Settings
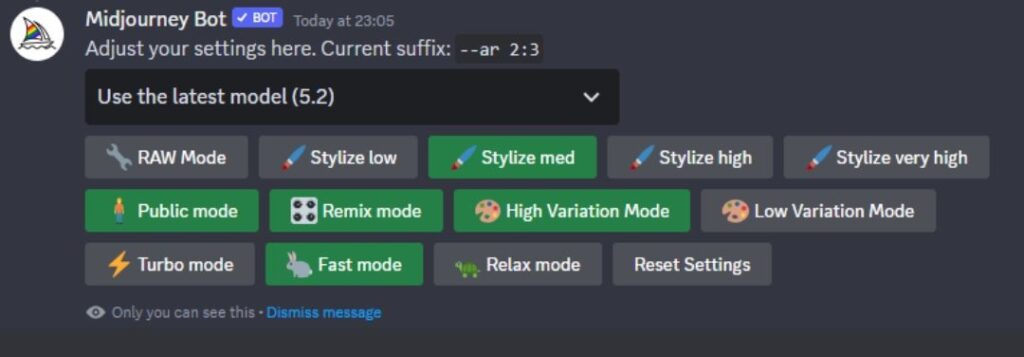
Choose Midjourney Model
Select your default Midjourney version from the dropdown menu under /settings. You can also find the Niji 5 Model here and set it as your default.
Remix Mode
Remix is a super handy setting that allows you to edit your prompt for each new variation.
With the Remix setting turned on, you can easily rerun your prompts without copy-pasting them.
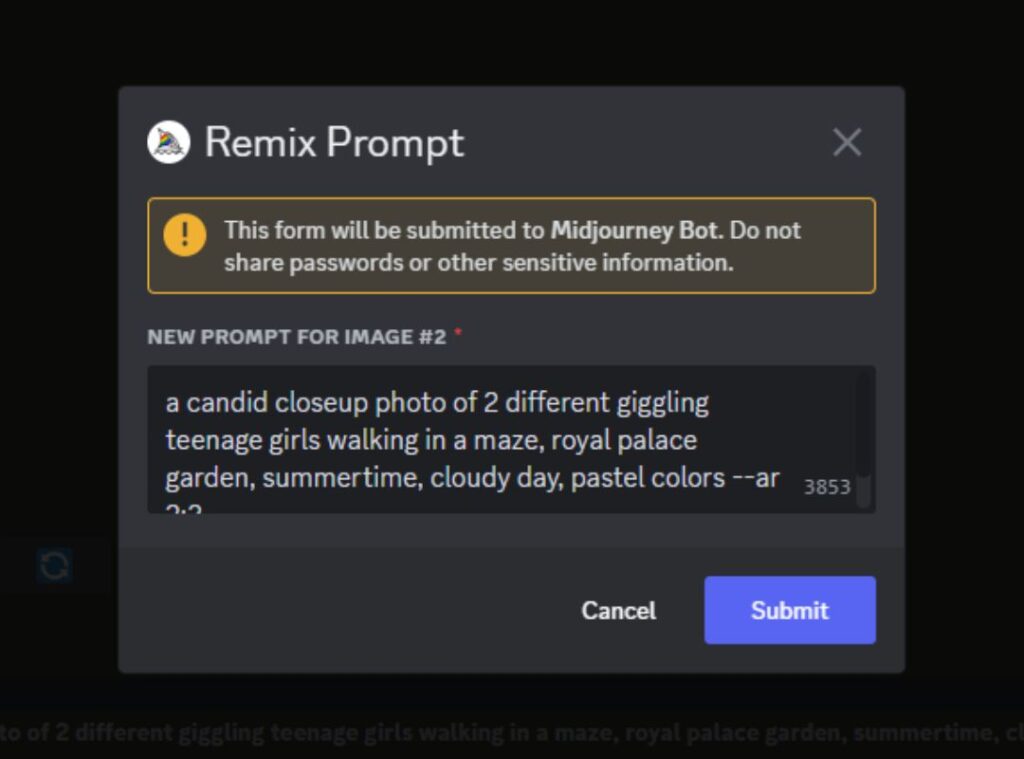
This is useful when you’re experimenting and want to quickly adjust certain keywords to change the subject, scenery, colors, etc.
/prefer remix will automatically activate the Remix Setting. You can also activate this option via /settings.
High / Low Variation Mode
Change the default High Variation Mode to Low Variation Mode. The High Varation Mode and Vary (Strong) buttons produce new images with significant changes in the image’s composition.
This setting is handy when creating multiple concepts based on a single image.

Low Variation Mode and the Vary (Subtle) buttons produce images that retain the main composition of the original image and only introduce subtle changes.
This setting is perfect for refining and fixing minor errors in an image, like too many fingers.
Parameters
Parameters change the default settings of how images are generated. They can be used to change aspect ratios, Midjourney models, exclude objects, and more. Parameters go at the end of your prompts.
To use a parameter, type double hyphens (—) or an em-dash on Apple devices (—), followed by the parameter you want.
Basic Parameters
In the following list, you can learn more about the basic Midjourney parameters to create your desired image.
Aspect Ratio Parameter
You can change the image dimensions with the aspect ratio (–aspect or –ar) parameter. The default aspect ratio is 1:1 (square).
Here are some examples of aspect ratios that you can use:
- 16:9 (desktop wallpaper)
- 3:4 (Instagram post)
- 2:3 (Instagram story)
- 4:3 (blog post header)
A photo of a cute puppy playing in the grass --ar 2:3No Parameter
You can exclude objects from appearing in your images by using negative prompting with the No parameter (–no).
For example:
A photo of a dutch girl standing at a busstop in the rain --no umbrella --ar 2:3Tile Parameter
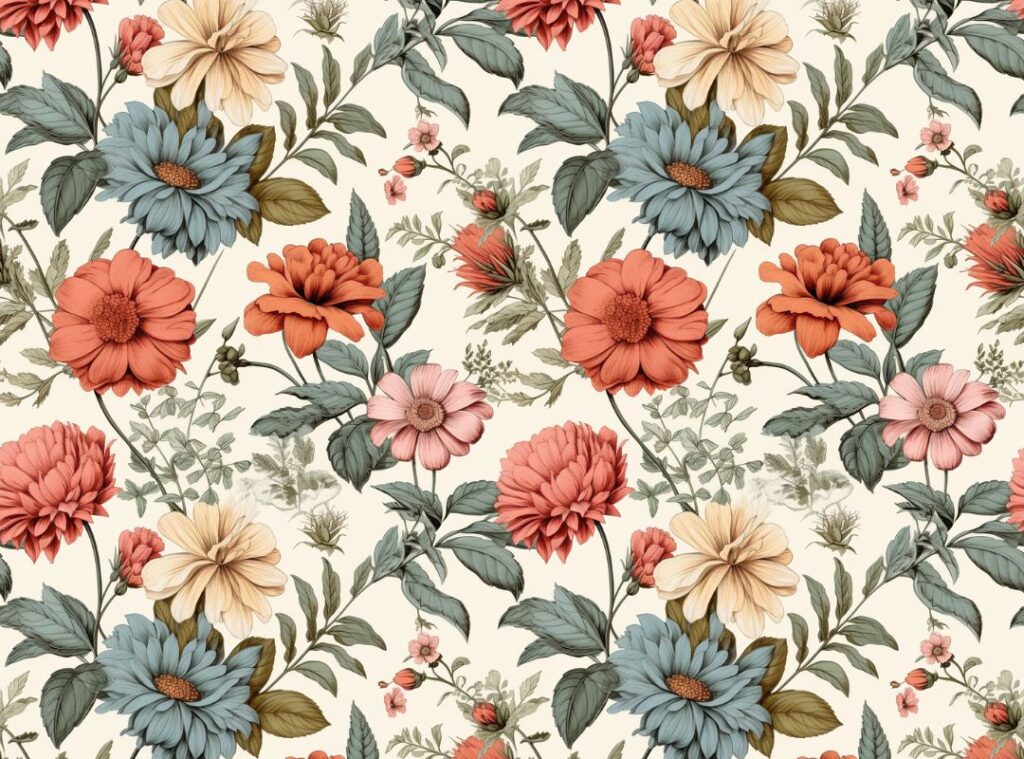
watercolor floral clipart --tileThe tile parameter (–tile) lets you generate seamless patterns by making repeating tiles. I recommend using the default aspect ratio for tiled images.
Also read: How to Make Seamless Patterns with Midjourney +15 Creative Prompts
Stylize Parameter
The stylize parameter (–stylize or –s <number>) influences how strongly Midjourney’s default artistic style is applied to your images. The default value in Midjourney version 5 is 100.
A closeup photo of a woman dancing in a field of flowers --s 250You can go to /settings and select a default for low, medium, high, and very high styling.
Style Parameter
Midjourney 5.1 and 5.2 introduced a raw style (–style raw) that lets you generate images with a more natural and less refined appearance and removes some of the default Midjourney aesthetic style.
Delicious fresh sushi art on a white plate, colorful sushi rolls, cucumber, avocado, salmon --style raw This setting is perfect for creating stock photos or more generic images for blogs and print-on-demand designs.
You can also go to /settings and select RAW Mode as your default.
Chaos Parameter
The chaos parameter (–chaos <number>) changes the variety of your results. A higher value will produce more unusual and unexpected images. The default value is 0 and can go up to 100.
A photo of an alien visiting earth --chaos 100Niji Parameter
The Niji parameter (–niji5) allows you to run the Midjourney Niji 5 model to create beautiful anime-styled images.
A pretty girl petting a unicorn horse in a magical forrest --niji5Within Niji5, you can choose from 4 different image styles: default, cute, expressive, or scenic (–style cute) to influence the art style of the results further.
A pretty girl petting a unicorn horse in a magical forrest --niji5 --style expressive Instead of adding –niji 5 to your prompts, you can also select Niji as your default by selecting Niji Model 5 from the Version Dropdown in /settings.
To learn more about Niji 5 and its different styles, you can check my guide on How to Use Niji 5 in Midjourney – Exploring All Creative Styles.
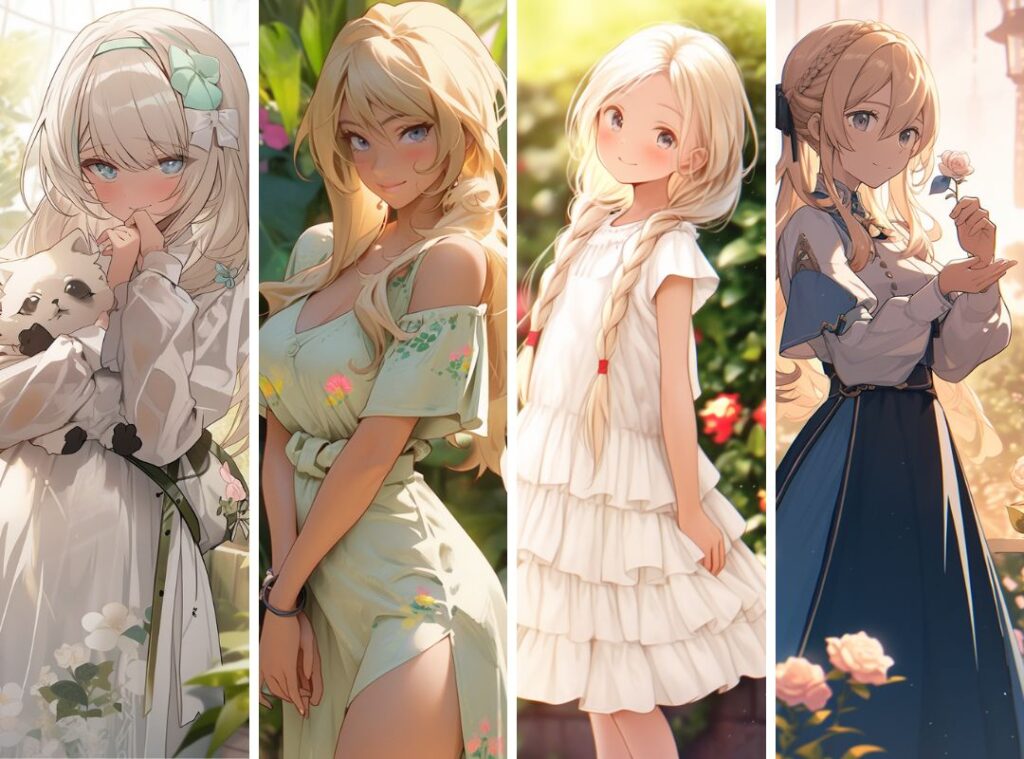
Free Midjourney Prompt Guides
For more inspiration and guidance, you can check out my free Midjourney prompts here:
- 15+ Free Prompts to Make Gorgeous Midjourney Portraits
- 17x Gorgeous Wes Anderson Midjourney Prompts
- 17 Free Prompts for Knolling Photography in Midjourney
- 14 Free Midjourney Clipart Prompts
- +15 Creative Prompts for Making Seamless Patterns in Midjourney
Now You Know How to Write a Good Prompt!
I hope this guide for writing better Midjourney prompts has been helpful to you! Please add me on Instagram @sprinkleofai to ask me any questions you still have, and don’t forget to tag me in all your wonderful AI Art!
NEXT GUIDE: Learn how to use NIJI in Midjourney
Learn how to use the NIJI function in Midjourney and create super cute AI art in anime style!
About the author
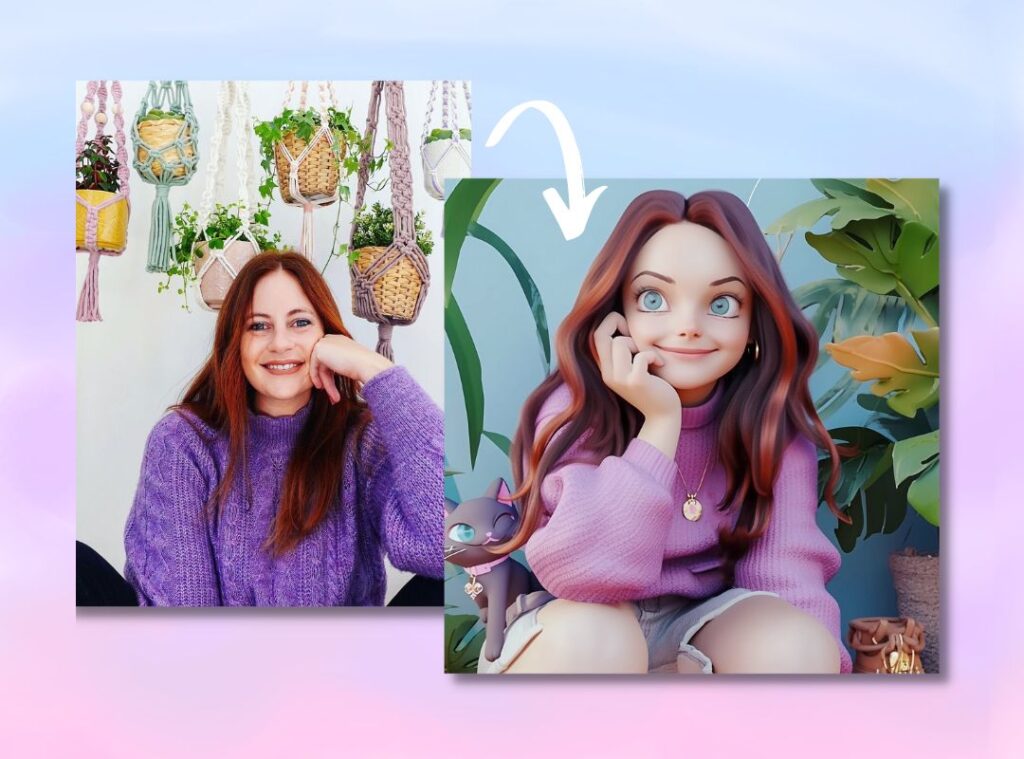
My name is Marloes Ratten, and I love to make things. During the day, I’m a Macrame teacher, and at night I love to go a little crazy in Midjourney.
If you would like to see more of my AI artwork, follow Sprinkle of AI on Instagram or check out more posts on my blog sprinkleofai.com!
For more info about me or my handmade items, check my blog macrameforbeginners.com, or browse my Etsy Shop for beginner-friendly step-by-step patterns.
This website features a collection of fictional characters and products crafted with Midjourney. All images are purely imaginative, and any resemblance to actual persons or products is entirely coincidental.

